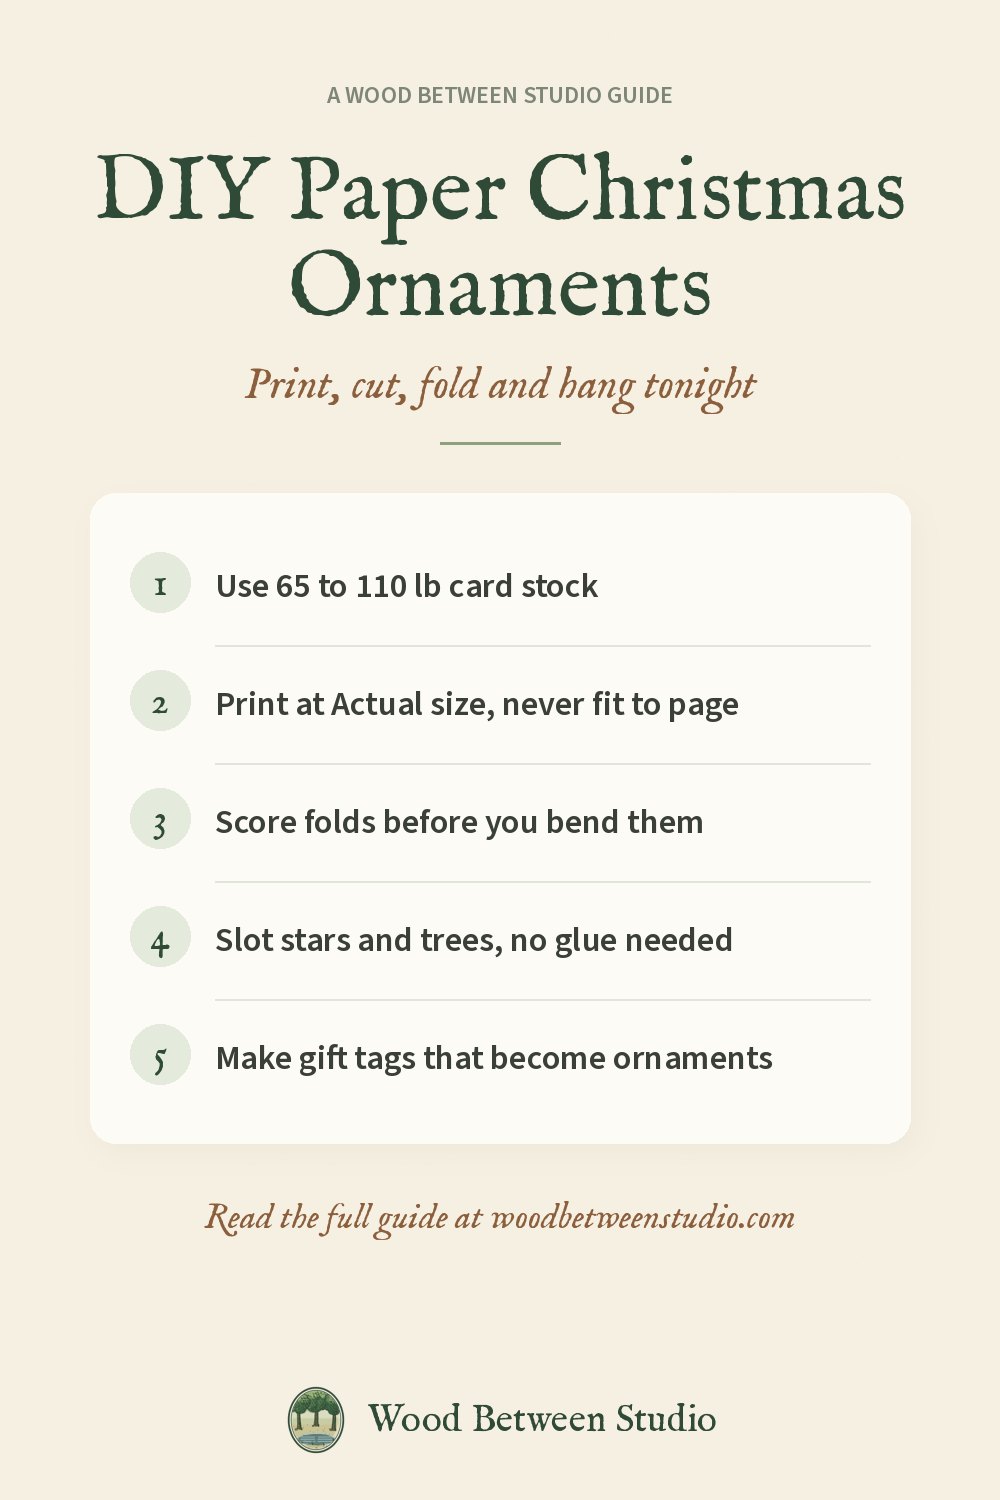
DIY Paper Christmas Ornaments: Printable 3D Stars, Folded Balls and Kids' Ornaments
Paper ornaments are one of the few Christmas crafts that cost almost nothing, need no special skill, and still look lovely on the tree. With a home printer, a pack of card stock and a pair of scissors, you can make a whole set in an evening, and children can join in at their own level.
This guide covers the four kinds of printable paper ornament that work best, what paper and tools to use, and the small techniques that make them look crisp and finished instead of homemade in the wrong way.
The four kinds of printable paper ornament
1. Slot-together 3D stars and trees
These are two flat shapes, each with a slit cut halfway through. One slit opens from the top, the other from the bottom. Slide them together and you have a three-dimensional star or tree that looks the same from every angle. There's no glue and no folding, so they take about ten minutes each.
Best for: adults and older children, and anyone who wants a full-looking tree quickly.
2. Folded paper balls
A folded ball is made from about 20 printed circles. Each circle has a triangle printed on it. You fold the three edges up along the triangle, then glue the flaps of neighboring circles together until they close into a ball (technically an icosahedron). They take longer, around 45 minutes, but they're the ornament people pick up and ask about.
Best for: a quiet evening project, or a teenager who likes precise work.
3. Gift tag ornaments
A fold-over gift tag goes on a present, and after it's opened it gets a ribbon and goes on the tree. If the tag is dated and has a line for a note, it becomes a small keepsake from that year. This is the easiest ornament on the list: cut, fold, punch a hole.
Best for: anyone wrapping presents, and families who like collecting a dated ornament each year.
4. Color-your-own ornaments
Outline ornaments in simple shapes (stars, hearts, mittens, trees) for children to color, cut out and hang. Many sets include a simple slot-together star or tree in outline, so kids can make a 3D one too.
Best for: children from about 4 up, classroom crafts, and keeping little ones busy while adults finish the harder ornaments.
What you need
- Card stock, 65 to 110 lb (176 to 300 gsm). This matters more than anything else. Regular printer paper is too floppy for 3D shapes and curls when hung. 65 lb card stock goes through almost any home printer; heavier stock looks better if your printer can feed it. Most printers take thicker paper through the rear or manual feed slot.
- Sharp scissors, plus a craft knife and a cutting mat for slits and inside corners.
- A ruler and something to score with: an empty ballpoint pen, a butter knife or a bone folder.
- A hole punch, ideally a small 1/8 inch one.
- Ribbon, baker's twine or thread for hanging.
- Glue only for folded balls: a glue stick for practice, or tacky craft glue for a stronger hold.
Printing: get this right first
- Print at "Actual size" or 100%. Printers and PDF viewers often default to "fit to page", which shrinks everything a few percent. On a slot-together ornament that makes the slits too short and the halves won't sit flush.
- Print one test page on plain paper. Check that the colors look right and nothing is cut off at the edges.
- Use your printer's "heavy paper" or "card stock" setting. It slows the paper down and helps the ink dry, which stops smudging.
- Let pages dry for a few minutes before cutting, especially rich, dark designs.
Techniques for a crisp finish
Cut the outline first, then the slits. Cutting slits on a large sheet is easier and more accurate than on a small piece that wobbles.
Cut slits slightly wider than a line. For slot-together ornaments, cut each slit as two parallel cuts about the thickness of your card stock apart, or cut once and wiggle the blade. A single hairline cut can tear the paper when you slide the halves together.
Score every fold. Lay a ruler along the fold line and run an empty ballpoint pen along it with firm pressure. The fold will be straight and sharp, and the ink won't crack along the edge.
Cut just inside the line. If you cut right on the printed outline, a thin white edge can show. Cutting a hair inside the line hides it.
Color the white edges. On dark ornaments, run a marker that matches the color around the cut edge. It's a small step that makes paper ornaments look printed by a professional.
Punch holes before assembly. It's much harder once a 3D ornament is put together.
Making it a family evening
Paper ornaments work well as a shared project because every age has a job:
- Small children color the kids' ornaments and thread ribbon through holes.
- Older children cut out simple shapes and gift tags.
- Teens and adults handle the slits on 3D stars and the folded balls.
Put on some music, lay down a tablecloth you don't mind marking, and set out bowls for scraps. An hour or two is enough for a dozen ornaments.
Beyond the tree
Printable ornaments aren't only for hanging:
- Gift toppers: tie a 3D star to a wrapped present instead of a bow.
- Garland: string folded balls or flat stars on baker's twine across a mantel or window.
- Place cards: a small 3D tree at each place, with a name tag tied on.
- Advent calendar: hang one ornament each day in December.
- Gifts: a set of handmade ornaments in a small box makes a thoughtful present for teachers and grandparents.
Our printable paper ornaments
We design printable ornaments with hand-coloured 19th-century botanical plates (holly, mistletoe, poinsettia, spruce, orange and clove) framed in gold borders and damask patterns:
- Botanical 3D Paper Ornaments ($7): 5 slot-together stars in two sizes, 4 slot-together trees, and 2 folded botanical balls, with diagrams for each shape. 18 pages, US Letter and A4.
- Vintage Botanical Gift Tag Ornaments ($5): 12 fold-over tags dated Christmas 2026, with To/From lines and a space for a memory.
- Color-Your-Own Paper Ornaments for Kids ($5): folk-art ornaments to color, plus a 3D star and tree.
- Paper Ornament Bundle ($12): all three sets in one download.
They're also on Gumroad. For a screen-free December, pair them with our family Advent activity ideas.
Quick answers
What paper is best for printable ornaments? 65 to 110 lb (176 to 300 gsm) card stock. Matte card stock gives the richest look for vintage designs.
Do I need a Cricut? No. Everything here can be cut with scissors and a craft knife. A cutting machine helps if you want to make dozens.
How long do paper ornaments last? Card stock ornaments stored flat or in a box away from damp will last for years. Gift tag ornaments dated by year become keepsakes.
Can kids make 3D paper stars? Children from about 8 can manage slot-together stars with an adult cutting the slits. Younger children do best with flat color-your-own ornaments.